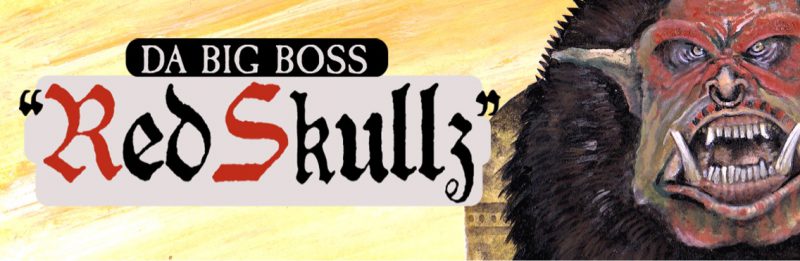
So a lot of people have commented on how I paint my Orks and the skin tone I’ve chosen as well as some interest in a little tutorial on how I do it. But first, some background on where I “discovered” this skin tone for greenskins.
Way back when I was a fantasy player only, I used to browse the Warhammer forum as they had a pretty solid crew of painters there. Most of it was very nicely painted albeit dull but that was until I discovered Bane and his utterly bonkers Orcs & Goblins army. Here’s the link and do browse it cause it’s awesome!
http://warhammer.org.uk/phpBB/viewtopic.php?t=13925
At the time my skills where not there to say the least but in 2012 I took the plunge and made a 2k O&G army mainly inspired from Bane. Here’s the link to the warseer plog I had on that army.
http://www.warseer.com/forums/showthread.php?339792-WAAAGH!-Red-Skullz-marches-again
Really like the army and I still play it from time to time.
Okay so enough of my recollections.. 😉
Tutorial time!
STEP 1.
Basecoat with black. Black is my favorite starting point. I’ve tried white but it doesn’t suit my style.

STEP 2.
A drybrush with catachan green or equivalent from the new range.

STEP 3.
Drybrush with originally graveyard earth but I was out so I mixed this one with rotting flesh and scorched brown. You basically want a light chocolate colour.

STEP 4.
Drybrush with ushabti bone (see I do own some new colours!).

STEP 5.
Paint eyes. Little dot of red and a smaller dot of yellow on top of the Red as shown.

STEP 6.
Paint teeth. I use beastial brown and a thinned out white on mine. It needs to be white so you can tell the teeth from the skin.

STEP 7.
Paint lips, gums and tongues with ratskin flesh.

Now before we continue to the next step I paint the rest of the model in preparation for a wash..
STEP 8.
…of armypainter quickshade soft tone. So yeah, I use dip and swear to it! Primary reasons are as I play with my minis the dip gives the entire mini protection but also since it solves so many things at once in regards to washes and layering. Call it cheating? Well I call airbrush cheating 😉 (not really, techniques are there to be used!).

Remember to let it set in room temperature for at least 12 hours. I brush it controlled on so I can wait less but I prefer not to as it totally ruins your good brushes if it hasn’t dried properly.
STEP 9.
Thought we where finished? Nope!
Now we start adding more details. First I use Baal red on lips, gums, tongue, ears and fingers. This is because my Orks are in a cold environment and even though they’re tougher than tough they can get the chills.

STEP 10.
Then I use leviathan purple on eyes and on the facial creases.

Again it’s cold climate and it brings out the details more. Now I do the rest of the detailing before I dullcoat it.
STEP 11.
So dullcoating. Got a love/hate relationship with that thing but I prefer to use it as the colours set really nice, especially metals. Hate aspect is that it’s a high risk of getting dust particles and ruining a paintjob if you haven’t shaken the can for at least two minutes and sprayed 3-4 bursts just to clear out the particles. I also always keep a minimum distance of 30cm+ when spraying and with very quick bursts. Lot of text for a seemingly simple job but this is where shit goes wrong in a very bad way.
With all that said, here’s the finished mini. Note I’ve spiffed up the metals just to get a better contrast.

Hope that this helps explain how I do it and if anyone wants me to explain anything more just ask 🙂 Oh and if you want to see more tutorials on how I do things please let me know.
Regards,
Tommy
PS: expect a massive update this week as I’m only 17 minis away from completing the tide!

[…] painted Mastah & Blastah in my now tried and tested realistic green skin. Tutorial here for those interested. Note I did not use dip on M&B. I thinned out the old chestnut ink and gave […]
[…] more of the Merciless warband – the WiPs and PiPs, check out my blog. I update several times a […]
[…] used a modified version of my realistic ork skin tutorial where I changed the chocolate colour with skin and dropped dip and used normal dark brown […]